
Quick Summary
Reducing video post-production time comes down to planning the edit before the shoot, organising footage from the moment it lands, and running a repeatable workflow with one consolidated round of feedback. Most delays come from small, compounding issues such as poorly labelled clips, unclear briefs and fragmented notes rather than the edit itself. Fixing these steps cuts hours without sacrificing final quality.
- Write a one-page edit brief stating the core message, runtime, platform and sign-off owner.
- Build the shot list backwards from the edit and mark each clip as essential or optional.
- Use a fixed folder template, name clips by date, project and scene, and back up on day one.
- Edit from proxy media and cull footage to a tidy selection before building the timeline.
- Collect all client feedback in one timestamped document with an agreed number of revision rounds.
Table of Contents
- Why Video Post-Production Time Adds Up Faster Than You Expect
- Plan the Shoot and the Edit Before You Press Record
- How to Organise Footage for Editing From the Moment It Lands
- Capture Clean Footage to Cut Fixes Later
- Culling, Trimming and Using Proxy Media for Faster Editing
- A Repeatable Video Editing Workflow Best Practices Process
- Speeding Up Client Feedback and Revisions
- Using Your Video Post-Production Checklist on Your Next Project
- Frequently Asked Questions
Why Video Post-Production Time Adds Up Faster Than You Expect
Last Updated: 9 November 2026
Reducing video post-production time is the fastest way to get more finished films out of the same budget. Most teams underestimate how many small delays pile up between the last shot and the final export. A two-minute promo can easily swallow a full working week once review rounds, file wrangling and re-renders are counted.
The shoot itself rarely causes the delay. The edit often does.
Here is the honest picture. Post-production is where a project quietly loses days. Searching for the right clip, re-exporting a file that will not play, and waiting for feedback all add up. None of it looks dramatic, but it compounds.
The good news is that most of this time is avoidable. You do not need to cut corners on quality to get there. You need a better process.
- Footage that is poorly labelled takes longer to search
- Unclear briefs trigger extra revision rounds
- Heavy raw files slow every playback and render
- Feedback that arrives in fragments restarts work
Below, we cover the practical steps that cut editing time without touching the final quality. Each one is something you can apply to your next project.
Plan the Shoot and the Edit Before You Press Record
Planning is the cheapest time saving you will ever make, but generic advice to ‘plan ahead’ does not cut edit hours. What cuts hours is planning specifically for the edit you will actually have to build. That means deciding the shape of the finished video before the shoot, and tailoring that plan to the format you are producing.
Start with a one-page edit brief. It should state the core message in a single sentence, the target runtime, the platform and aspect ratio, and who signs off the final cut. Keep it to one page so it is read, not filed.
Then build the shot list backwards from the edit. For each section of the finished video, list the clips that section needs. Mark each clip as essential or optional. This gives the editor a priority order when the timeline gets crowded, and it stops the shoot expanding to fill the day with footage nobody will use.
Plan for the format you are actually delivering, because the edit workload differs by type:
- Interviews and testimonials. Plan for cutaway coverage and clear audio. Decide in advance whether you will transcribe and paper-edit from the transcript, which is often faster than scrubbing through raw audio.
- Social clips. Shoot with the final aspect ratio in mind and capture safe areas for captions. Reframing vertical from horizontal in the edit adds hours; framing for vertical on set removes them.
- Events. Agree a highlights runtime and a shot priority list before the day. Event edits stall when nobody decided in advance which moments must appear.
- Long-form video. Plan chapter structure and lower-third naming before the edit. Long-form projects lose the most time to re-organising structure late.
Agree the edit structure early too. Know roughly how long the final cut should run, what the intro and ending need to do, and which clips are load-bearing. Write the must-have shots on the shot list and confirm who signs off the final version before anyone picks up a camera.
- List the core message in one sentence on a one-page edit brief
- Mark the must-have shots on a shot list built backwards from the edit
- Agree the target runtime, platform and aspect ratio
- Plan format-specific needs such as transcripts, safe areas and chapter structure
- Confirm who signs off the final version
How to Organise Footage for Editing From the Moment It Lands
Good file organisation starts the moment footage leaves the camera. Set up a folder structure once and use it every time. Consistency beats cleverness here.
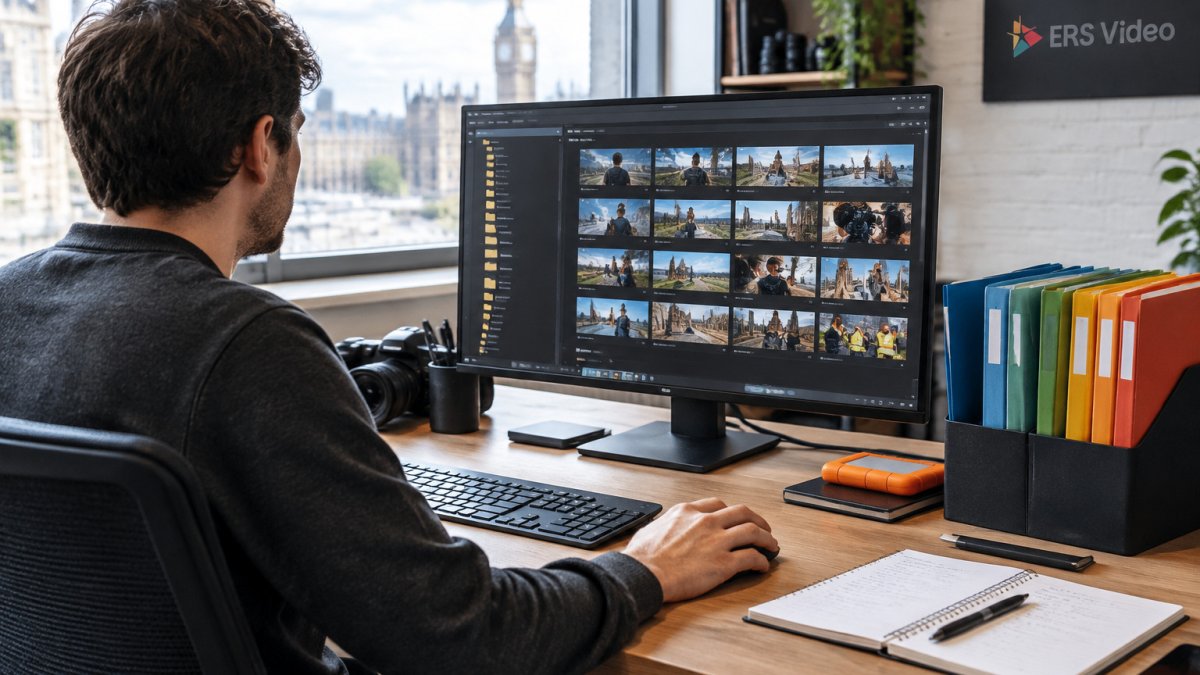
Name files with the date, project and scene, so anyone can find a clip in seconds. Keep raw footage, audio, graphics and exports in separate folders so nothing gets overwritten by accident.
Back up as you go. Copy footage to a second drive before editing begins, not after something goes wrong.
- Use a fixed folder template for every project
- Name clips by date, project and scene number
- Keep raw, working and export files apart
- Back up to a second drive on day one
Capture Clean Footage to Cut Fixes Later
Fixing a problem in the edit always costs more than avoiding it on set. Poor audio, unstable framing and bad lighting all eat editing hours.
Check sound before each take. A small microphone placed close to the speaker saves more time than any plugin. Hold the camera steady or use a tripod, and keep lighting consistent across a scene so the clips cut together without jarring shifts.
Ask for a retake when something is clearly wrong. A minute on set is cheaper than an afternoon trying to rescue a bad clip.
Culling, Trimming and Using Proxy Media for Faster Editing
Culling means reviewing footage and keeping only the best takes. Do this before you start building the timeline. Editing from a tidy selection is far quicker than scrolling through hours of material.
Trim pauses, false starts and filler as you go. Tight clips keep the pace up and reduce the number of cuts to review later.
For large files, use proxy media. Proxies are lighter copies that play smoothly on a standard computer. The editor works on the proxies, and the full-quality files are used at export. This keeps the timeline responsive without sacrificing final quality.
Skimming, Presets and Keyboard Shortcuts
Skimming lets you preview clips quickly by moving the cursor across them, so you find the right moment without playing the whole clip. Most editing software supports it.
Presets save time on repeated tasks such as colour grades, titles and export settings. Build a small library of presets for the looks you use most often.
Keyboard shortcuts add up. Learn the ten you use every day and the small savings across a project become significant.
The article points to a few concrete ways to keep the timeline responsive and reduce wasted searching:
| Technique | Purpose | Key benefit |
|---|---|---|
| Culling | Keep only the best takes | Edit from a tidy selection |
| Trimming | Remove pauses and false starts | Keeps pace up, fewer cuts to review |
| Proxy media | Lighter copies for editing | Smooth playback, full quality at export |
| Skimming | Preview clips by moving the cursor | Find the right moment quickly |
| Presets | Save colour, title and export settings | Reuse looks and settings |
| Keyboard shortcuts | Learn the ten you use daily | Small savings add up across a project |
A Repeatable Video Editing Workflow Best Practices Process
A repeatable workflow is the single biggest lever for consistent turnaround times, but most advice stops at a numbered list of stages. The gap is the mechanism: what happens at each hand-off, where quality is checked, and how you know the workflow is actually getting faster. A complete workflow runs from ingest to delivery and includes the review and measurement steps that isolated tips leave out.
A simple sequence works well for most teams, with a clear owner and a check at each gate:
- Ingest and back up. Copy footage to a working drive and a second backup drive on day one. Verify the copy before formatting any card.
- Organise and label. Apply the fixed folder template and naming convention so any clip can be found in seconds.
- Cull and select. Review footage promptly and keep only the best takes before building the timeline.
- Build a rough cut. Assemble around the story and the edit brief, not around the order the footage was shot.
- Refine. Trim pauses and false starts, then add audio, graphics and colour.
- Review in one round. Collect all notes in a single document with timestamps and a deadline.
- Finish and deliver. Check audio levels, captions, file formats and export settings against the delivery spec.
Two things make this repeatable rather than aspirational. First, write the workflow into your project template so it travels with every job and nobody has to reinvent the stages. Second, put a quality gate at each hand-off: the backup is verified before ingest is signed off, the rough cut is checked against the brief before refinement, and the delivery spec is checked before export.
To know whether the workflow is working, measure it. Track three numbers per project: edit hours from ingest to first cut, the number of revision rounds, and turnaround time from shoot to delivery. A simple spreadsheet is enough.
Watch out: a workflow that is written down but never reviewed becomes a ritual, set a short review after each project and update the template with what actually slowed you down.
Keep a copy of this workflow in your project template so it travels with every job.
Speeding Up Client Feedback and Revisions
Feedback is often where projects stall. Vague comments and scattered emails force repeated edits.
Ask for all notes in one document, with timestamps. Set a deadline for feedback and agree how many revision rounds are included before the project starts. This prevents endless loops.
Share a rough cut early. Clients spot direction problems faster on a draft than on a near-final version, which saves a full round of rework.
- Collect all notes in a single document
- Use timestamps for every comment
- Agree the number of revision rounds upfront
- Share a rough cut before polishing
Using Your Video Post-Production Checklist on Your Next Project
A checklist turns good intentions into habits. Use it at the start, middle and end of every project.
Before editing, confirm the brief, the footage backup and the folder structure. During editing, check the rough cut against the story and the runtime. Before delivery, check audio levels, captions, file formats and the final export.
Review the checklist after each project. Note what slowed you down and update the process. Over a few projects, the time savings become clear.
If you want help building a simplified process for your next promotional or event video, speak to ERS Video. Book a call to get started.
Frequently Asked Questions
How can I speed up my video editing workflow?
Start by planning the edit before you shoot, then organise footage into clearly named folders as soon as it arrives. Culling weak takes early and using skimming to find clips quickly removes much of the wasted time. Presets for common titles, colour grades and export settings also stop you repeating the same decisions on every project. Track how long each stage takes for a few jobs, and you will quickly see which step is costing you the most hours.
Does using proxy media help reduce editing time?
Yes, particularly with high-resolution or heavily compressed footage. Proxy files are lower-resolution copies that your editing software uses during the cut, so the timeline plays smoothly on modest hardware. You then relink to the original files for the final export, so quality is not lost. Proxies matter most on laptops and older machines, where full-resolution playback can stall every few seconds.
What are the best practices for organising video project files?
Use one consistent folder structure for every project, with separate folders for raw footage, audio, graphics, exports and project files. Name files with the date, shoot location or scene and take number so they sort logically. Keep a single backup routine, ideally following the 3-2-1 approach of three copies on two types of media with one stored off-site. Consistency matters more than the exact system you choose.
What is the most time-consuming part of video post-production?
For most projects, the time goes into reviewing footage and trimming pauses, mistakes and filler, rather than the final polish. Searching for the right take and waiting for feedback loops add further delays. Reducing these stages through planning, organised footage and a clear client approval process usually saves more time than speeding up effects or export.
